I definitely believe that it’s not the size of the list that counts but how you use it. But with that being said you do have to have a list in order to use it, so list building is an incredibly important piece of your marketing strategy puzzle.
So maybe you set an ambitious list-building goal at the start of this year that you’re not going to achieve.
Or maybe as the year goes on, you’re realizing that your list size has pretty much stayed the same.
Either way, this goal guide is going to help you give your email list a boost so you can recover some or part of your original list-building goal.
How this guide works:
This goal guide gives you a 4-week list building action plan (with a little pre-work too) that you can follow to grow your email list — and use again to keep power-upping your list, all the way to your goal.
Prefer to watch this blog post instead? Click on the video below!
Updating Your Pre-Work: Revisiting Your List-Building Goal
Before we get into the weekly growth plans, we need to evaluate your original list-building goal to determine the value that’s already there. This can be used to create an updated goal for the next 4 weeks.
Here’s what to do:
Step 1 – Evaluate your original email list size goal for the year by asking:
- How much progress have you made so far?
- If you’re off track, why? Was the goal unrealistic to begin with? Have you not taken as much list-building action as you’d planned?
- In order to reach that goal by the end of the year, how many people do you need to add per month for the rest of the year?
- What is your new (or same) list-building goal for the rest of the year?
Step 2 – Set a monthly list growth goal
Next set a new monthly list growth goal based on your evaluation from above. How many people do you want to grow your email list by this month?
Step 3 – Reverse engineer that goal to identify your traffic targets
Finally, let’s estimate how much traffic you need to drive to your email sign-up form in order to hit that goal this month:
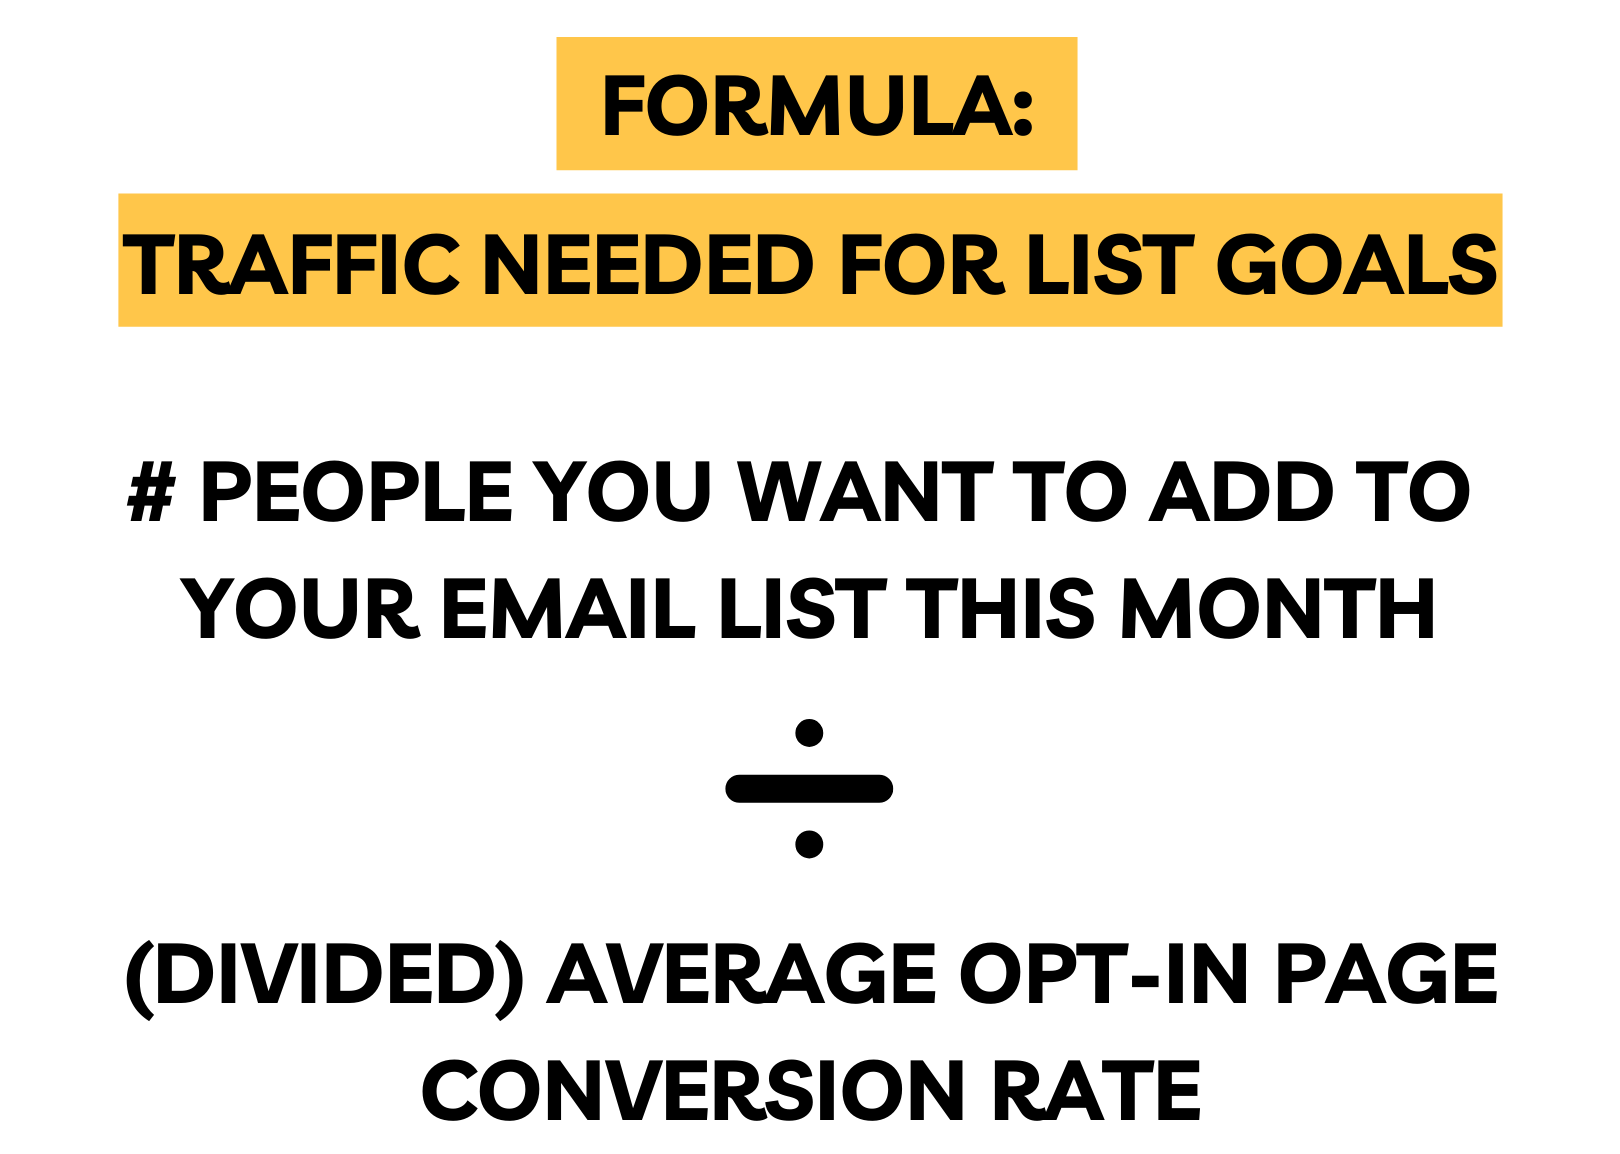
Take your list growth goal for the month i.e. 100 new subscribers
Divide it by your average form conversion rate (average ~ 30%) i.e. 30% —> 100/0.30 = 333
Meaning I have to drive about 333 unique non-subscribers to my opt-in form in order to hit my goal.
This will give me three metrics to look at when I’m building my plan and evaluating at the end of the month why I did or didn’t hit my goal.
Week 1: Work What You Already Have
For week 1, you have 3 steps to complete for your list building project:
- Choosing and creating a content campaign around an existing freebie
- Optimizing your sign-up spots
- Choosing and planning your list-building event
✅ Step 1 – Choose and Create A Content Campaign Around an Existing Freebie
You likely already have a great freebie (or a good-enough freebie) you can use to get the ball rolling on building up your email list. So we’re going to leverage what you already have in Step 1 so you can start getting some sign-ups while you work on your list-building event.
So choose the freebie you want to highlight over the next couple of weeks and then create your content campaign promo creative:
- 5 promo messages about the free with a call-to-action inviting them to sign up
- 2 promo designs for the freebie formatting into different sizes for all the social platforms you’ll use to promote it (click here to see the current sizes)
Your mission is to promote this freebie on 1 of your social media platforms a day for the rest of this week so by the end of the week, you’ve shared it 6-7 times.
✅ Step 2 – Optimize Your Sign-Up Spots
One of the best ways to get more subscribers on your list (because it requires almost no effort from you once you set it up) is to make it the easiest thing in the world for your website visitors to find and use your opt-in forms. Part of this is making sure that they’re in the right place, and another part is to make sure that they stick out.
So run through this list to make sure that the freebie you chose in Step 1 is being highlighted in all the right spots:
Website:
- On your homepage – in at least 2 spots (ribbon, banner, footer, button/image within homepage content)
- At the bottom of related blog posts
- In your blog sidebar
- Exit-intent pop-up
Social Media:
- Business Facebook page – your cover photo, pinned post, click-to-action link
- Facebook group – your cover photo, pinned post, welcome questions
- Instagram – your profile link, your story highlights
- LinkedIn profile – your about section, your experience media
- Pinterest – your “Best Of” board, your profile link
- Twitter – your cover photo, your profile link, pinned tweet
Other:
- Your business email autoresponder
- Your email signature
✅ Step 3 – Pick Your List-Building Event to Start Planning
Finally, our biggest project over the next 4 weeks will be to plan, prepare, and run a list-building event. These are the best ways I’ve found to really give your list a boost and build momentum.
The three to choose from are:
- List-building giveaway
- Challenge
- Webinar
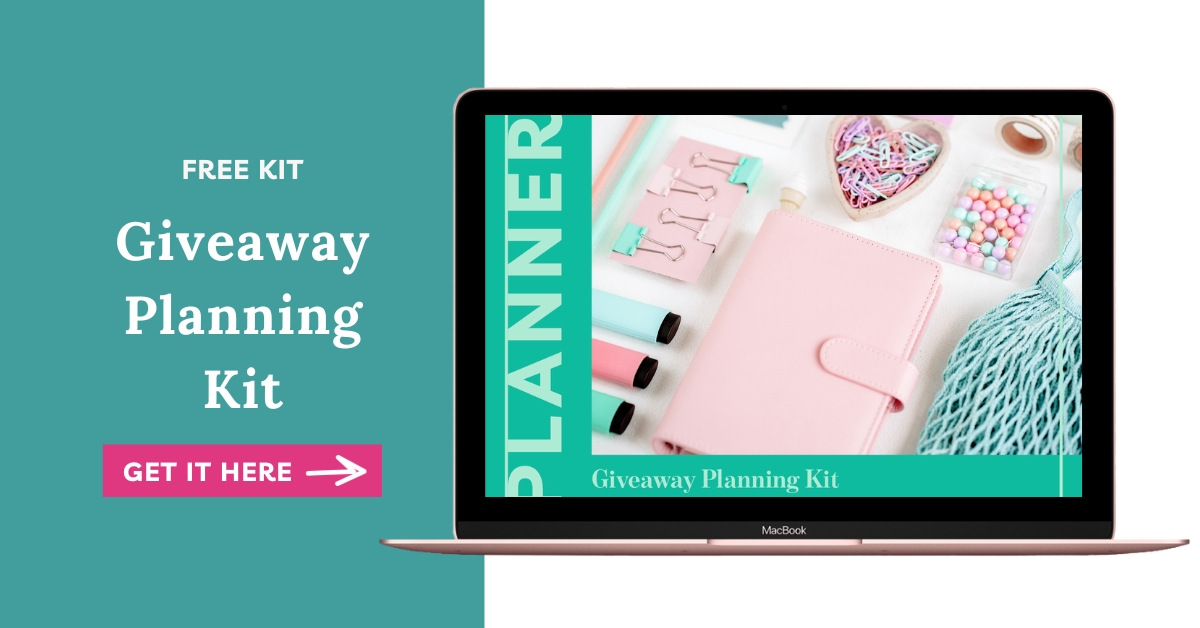
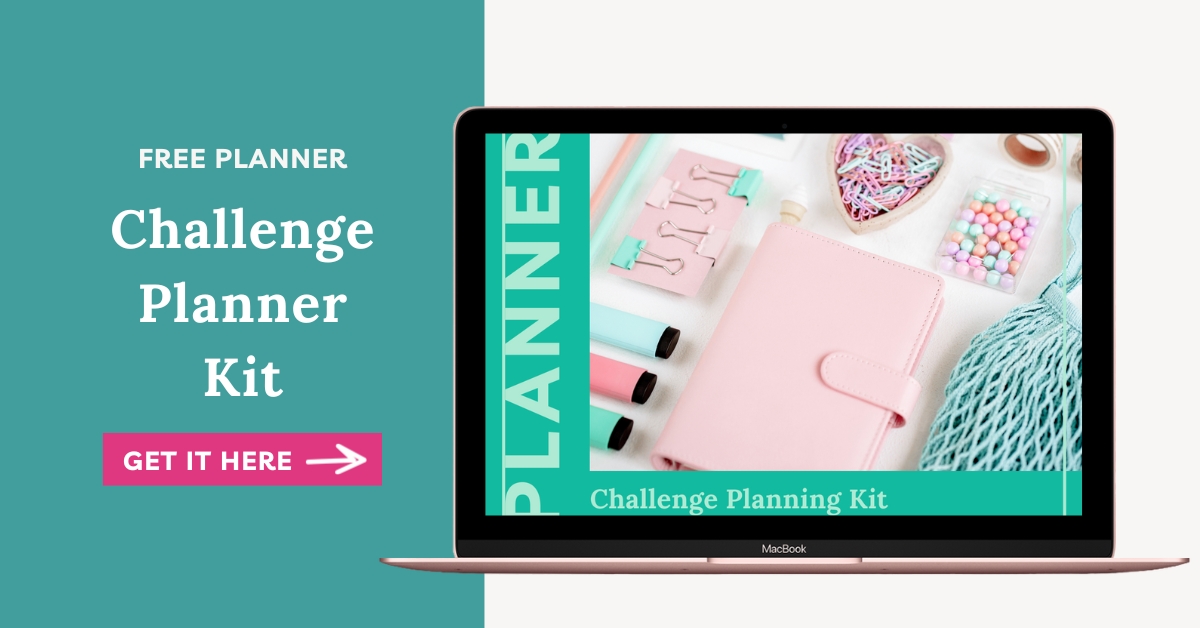
I’m pulling 3 of the Freebie Kits straight out of my signature program, the $10K Monthly Content System, that you can download that’ll help you put together these list-building events:
Your goal today is to pick one of them, download the kit and complete the planning section of your list-building event kit.
✅====> Bonus Reminder:
Have you done your part this week to show up for your existing email subscribers? Make sure you send at least 1 email this week (no matter how small your list) to engage with them and turn your email list into a hotspot that people are thrilled to be a part of.
Week 2: Prepare Your List-Building Event
For week 2, you have 3 steps to complete for your list building project:
- Continue promoting your existing freebie for week 2 of your content campaign
- Preparing the content for your list-building event
- Preparing the promotion content for your list-building event
✅ Step 1 – Continue on Week 2 of Your Content Campaign to Promote Existing Freebie
Your mission for this week is to continue promoting the freebie you chose last week on 1 of your social media platforms a day for the rest of this week so by the end of week 2, you’ve shared it 6-7 times.
Rotate through the promo messages and images that you created.
If you wanted to boost this, you could also look to promote it on other platforms as well, such as:
- Running a Facebook Ad to your opt-in page
- Sharing it other people’s Facebook groups that allow sharing
✅ Step 2 – Prepare Your List-Building Event
Your biggest project of the week, however, is preparing the content for your upcoming list-building event. Last week you decided between hosting a giveaway, webinar, or challenge and even created a plan for them using the Freebie Kits I supplied.
This week, I want you to start by completing the content preparation section of your kit before moving on to the next step.
✅ Step 3 – Prepare Your List-Building Event Promo Content
Because you’re going to be starting to promote your event next week, complete the promo content preparation section of your kit.
✅ ====> Bonus Reminder:
Have you done your part this week to show up for your existing email subscribers? Make sure you send at least 1 email this week (no matter how small your list) to engage with them and turn your email list into a hotspot that people are thrilled to be a part of.
Week 3: Promote Your List-Building Event
For week 3, you just have 2 steps to complete for your list building project:
- Promote your list-building event
- Finish preparing the content for your list-building event
✅ Step 1 – Promote Your List-Building Giveaway
Now that you’ve created your giveaway, webinar or challenge – it’s time to get people excited about signing up for it.
This week will be very similar to the content campaign we just ran for the past 2 weeks for your existing freebie but with a little extra rah-rah. So complete the promo section of the freebie kit I provided.
Feeling icky about promoting? Come from a place of wanting to help and serve as many people as possible. It’s not about doing this for you but about how many people it will help. And people can’t get helped by you if they have no clue it’s going on, right?
✅ Step 2 – Make Any Final Updates to Your Content for the List-Building Event
If you didn’t finish up everything this week, cross those final T’s and dot those final I’s because next week, it’s go-time!
✅ Step 3 – Optimize Your Sign-Up Spots for Your List-Building Event
Having deja vu?
Good, because this is the same step from week one only this time we’re putting the spotlight on your list-building event!
So run through this list to make sure that you’re highlighting your list-building event in all the right spots:
Website:
- On your homepage – in at least 2 spots (ribbon, banner, footer, button/image within homepage content)
- At the bottom of related blog posts
- In your blog sidebar
- Exit-intent pop-up
Social Media:
- Business Facebook page – your cover photo, pinned post, click-to-action link
- Facebook group – your cover photo, pinned post, welcome questions
- Instagram – your profile link, your story highlights
- LinkedIn profile – your about section, your experience media
- Pinterest – your “Best Of” board, your profile link
- Twitter – your cover photo, your profile link, pinned tweet
Other:
- Your business email autoresponder
- Your email signature
✅====> Bonus Reminder:
Have you done your part this week to show up for your existing email subscribers? Make sure you send at least 1 email to them this week (no matter how small your list) to invite them to your list-building event. They signed up to stay in the know on what you’re up to – and even though they won’t be growing your list, they can be your biggest ambassadors. So your ask can be for them to join + invite their friends too!
Week 4: Run Your Event and Evaluate
For week 4, you just have 2 steps to complete for your list building project:
- Run your major list-building event
- Evaluate your results
✅ Step 1 – Run Your List-Building Event
This week is pretty simple because you just want to focus on showing up and delivering your list-building event whether it’s a giveaway, challenge, or webinar. You’ll continue to promote and engage with registrants up until the actual day of the live event, so leave lots of time in your calendar this week for real-time engagement.
✅ Step 2 – Evaluate your results
Then once you’ve wrapped up your list-building event, you’ll want to measure to see if you’ve hit your goal and why or why not.
Below are the numbers you want to look at:
Overall List Growth
- Number of new subscribers (and total list size)
- Were you on target or how far off were you?
Existing Freebie:
- Number of unique visitors who hit the opt-in page for your existing freebie
- Number of people who subscribed for an existing freebie
- What was the conversion rate? (subscribed/unique visitors)
- What were the sources of traffic to the opt-in page? (aka what worked?)
List-Building Event:
- Number of unique visitors who hit the opt-in page for your list-building event
- Number of people who subscribed for an existing event
- What was the conversion rate? (subscribed/unique visitors)
- What were the sources of traffic? (aka what worked?)
- Qualitatively – What worked about the event? What did you like? What didn’t you like? Would you want to run one like this in the future?
What Now?
Congratulations – you have reached the end of the Growing Your List Goal Guide!
As for what’s next: you can run this every single month to hit your monthly goals or whenever you feel like giving your list a boost. You could follow this up with sales emails to sell your offers (see the revenue planning goal guide here)
What you’ll definitely want to do though is use the numbers from this month to inform your list-building goals in the future so you know what’s possible and what to build upon!


